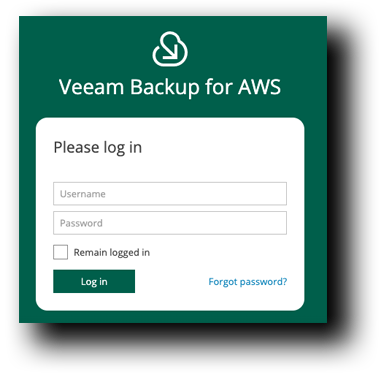
Veeam Initial Setup
To start working with Veeam Backup for AWS, perform these 5 easy steps for its configuration:
- Use the Default Backup Restore IAM role to back up and restore resources in the initial AWS account, or add custom IAM roles to access other AWS resources. see Required IAM Permissions.
- Use the default administrator created during the initial configuration of the backup appliance to perform all operations in Veeam Backup for AWS, or add other user accounts to control their access to Veeam Backup for AWS.
- Configure backup repositories. This step applies if you plan to protect EC2 instances with image-level backups, to perform EFS indexing operations, to back up Veeam Backup for AWS. configuration and to keep additional copies of Amazon VPC configuration backups in Amazon S3.
- Configure worker instance settings. If you do not configure settings for worker instances, Veeam Backup for AWS will use the default settings of AWS Regions where worker instances will be launched.
- Configure global retention, email notification and single-sign-on settings.
Accessing Veeam Backup for AWS Instance
- Go to the AWS Console
- In the Top Search Area Type: EC2
- Click EC2
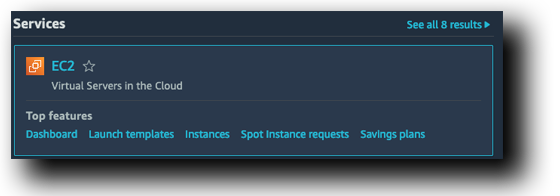
- Within the Resources Section Click Instances (running)
 You should see three instances running: two “ec2-instances” and another called “VeeamFreeSetup”.
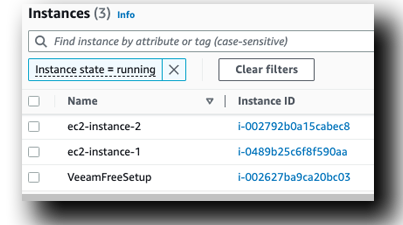
- Select the VeeamFreeSetup Instance to bring up the details below
- Under Public IPv4 DNS, Click Open Address

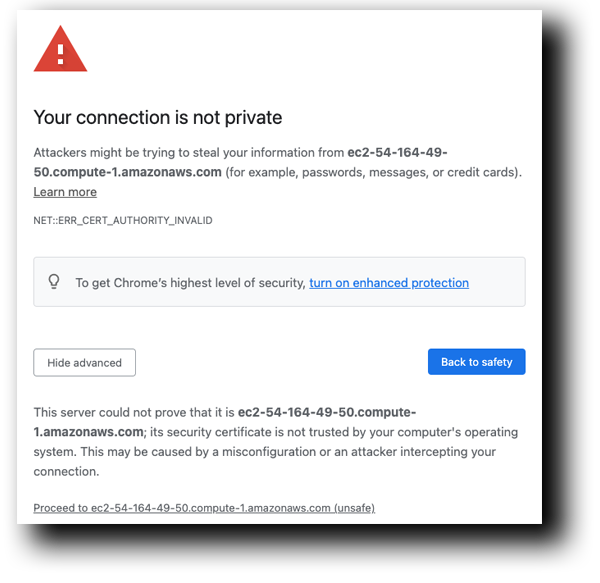
- A new tab will open. You may see a warning for potential security risk due to the TLS certificate that is currently used to secure traffic between the browser and backup appliance.
- Click Advanced
- Click Proceed to… (Chrome) or Accept Risk & Continue (FireFox)
Note
Finished “Preparing for the first run”
If you see the following screen, give the installation a couple of minutes to complete.
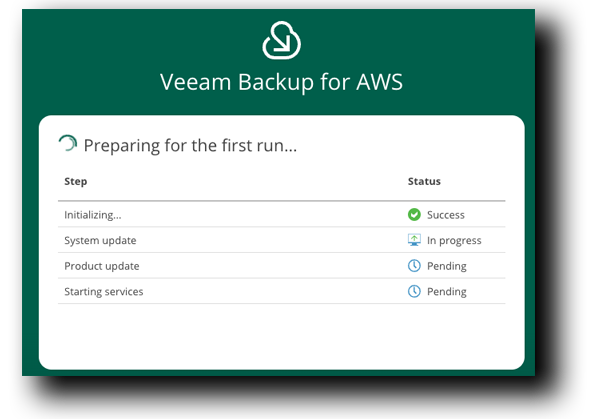
Veeam Initial Configuration
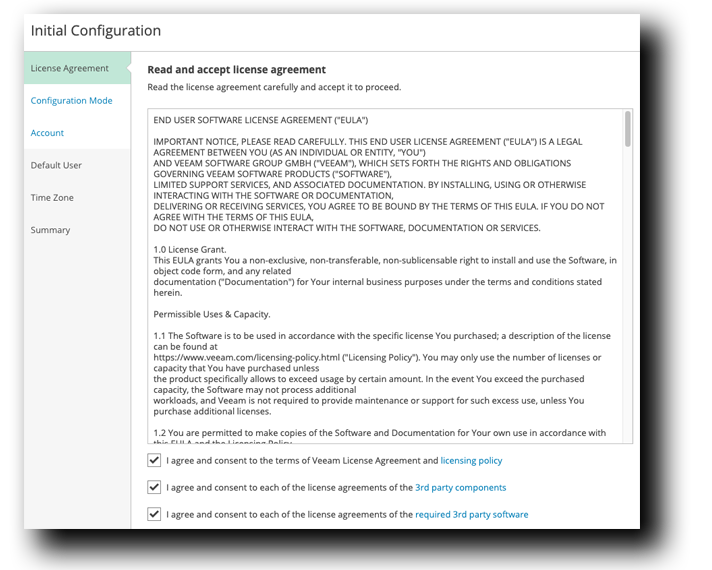
Initial Configuration » License Agreement
- Check All three “I agree” boxes
- Click Next

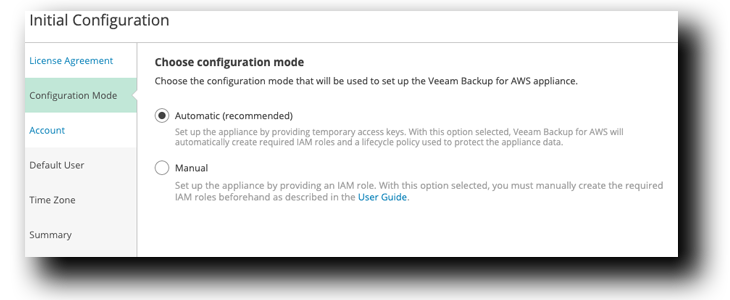
Initial Configuration » Configuration Mode
- Leave Automatic (recommended) Selected
- Click Next
Initial Configuration » Account
The Access/Secret keys are exclusively utilized for configuring the appliance and are not saved or stored on the Veeam Instance. For details regarding the necessary permissions, please refer to the Veeam Backup on AWS User Guide
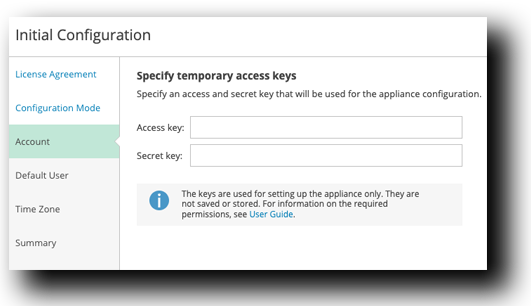
Access / Secret Key Location
- To locate the Access/Secret keys, Go back to the AWS Console
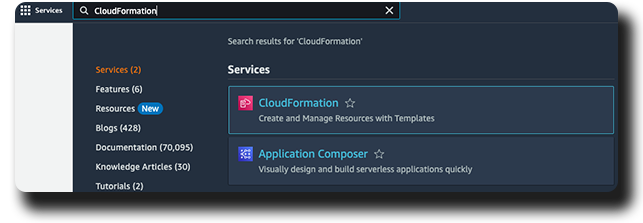
- In the Top Search Area Type *CloudFormation
- Select Cloudformation
- Locate the Stack with the name aws-veeam-deployment-VeeamAMIDeploymentStack-XXXXXXXXXXXX

- Click on the Stack name
- On the top tabs, Select Output

- Copy and paste the Access/Secret keys into the Veeam Bakcup for AWS Initial Configuration page
- Click Next
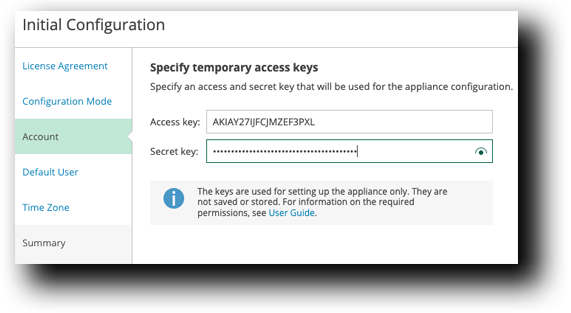
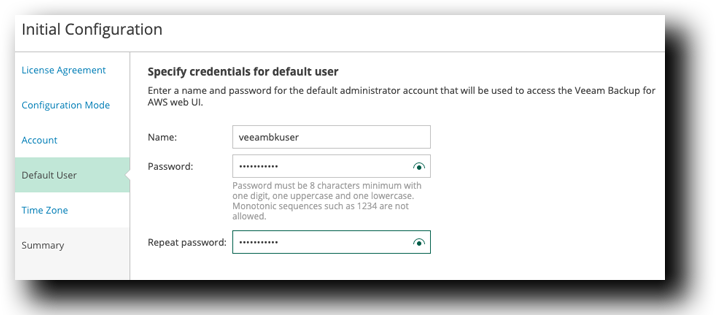
Initial Configuration » Default User
- Type the name: veeambkuser
- Enter a secure password (keep it handy cause you’ll need it soon)
- Click Next
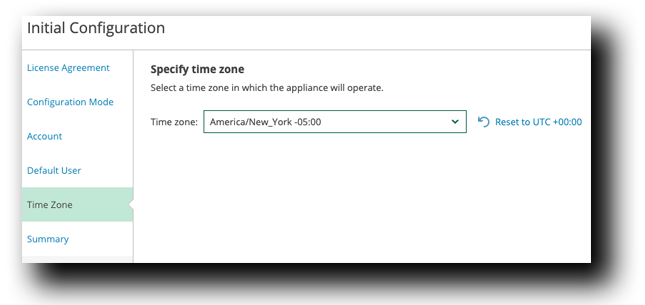
Initial Configuration » Time Zone
- Select America/New_York -04:00 for the Timezone (or it could be -05:00 because we like to mess with Daylight savings)
- Click Next

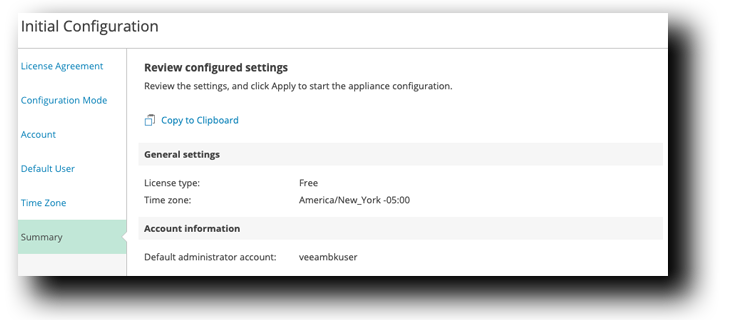
Initial Configuration » Summary
- Review the Summary Page
- Click Apply
Note
Wait 2-3 minutes until the configuration of the Veeam Backup for AWS Appliance is complete.

You should see the following screen once it’s done.
